The system's servers can be configured to work as Failover, that is, if one server stops working, another will take over the operation of desired objects (and previously imported from the main server).
On the server that will act as Failover, you must register objects called Failover Monitors. The Failover Monitors will monitor the activity of the desired servers and when a communication failure with any of these servers occurs, the Failover Monitor will trigger the Failover event that can be used to activate objects imported from the main server on the Failover server, objects such as cameras, analytics, LPR, among others, can be imported and activated during Failover. When communication is reestablished, the Failover Monitor will trigger the Failback event, where event actions must be configured to disable objects activated during Failover. If your version of the system has the Auto-Healing feature, the main server can automatically download recordings from the Failover server for the period that the main server was down. To learn how to configure this feature, see the Auto-Healing topic. Camera cure.
To exemplify the Failover server configuration, let's assume a scenario of a company that has two servers, Server A with 4 cameras and Server B as Failover. If Server A stops working, Server B must start recording 1 camera out of the 4 cameras on the first.
First, we must import the camera we want to fail over on Server B and leave it disabled. To learn more, see the topic Import objects from other servers.
|
|---|
You will be able to import any type of objects from the main server to the Failover server and activate / deactivate these objects during main server failure. This is necessary because if the main server is down, the Surveillance Clients will not have access to the objects on this server but only to the objects on the Failover server. |
Now access the Server B Failover option as shown in the image below:

On Server B we will register Server A. This way, if Server A goes down we can start recording the camera on Server B.
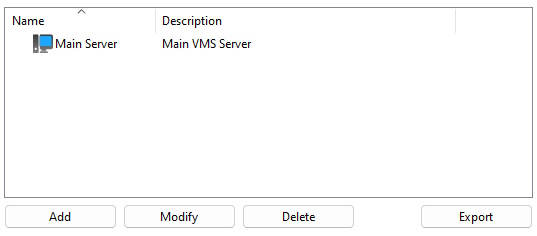
To add the Server, click Add and the following screen will be displayed:
To change an already registered monitor, select it and click Modify, and change the data as explained below.
To remove a monitor, select the desired object and click the Delete button.
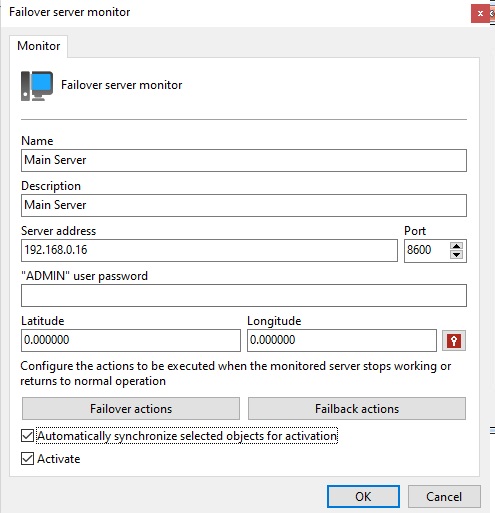
•Name: Failover Monitor Name
•Description: Description of the Failover Monitor for this server
•Server address: Server IP to be monitored
•Port: Main connection port to the server.
•Admin user password: Password for the admin user of the server to be monitored.
•Latitude / Longitude: Coordinates of where this server is located.
•Failover Actions: Desired event actions when the Failover event is triggered. To learn more about event actions, see the chapter How to configure event actions.
•Failback Actions: Desired event actions when the Failback event is triggered. To learn more about event actions, see the chapter How to configure event actions.
•Sync selected objects for activation automatically: This option will cause the system to automatically update the objects selected in the Activate Objects action of the Failover event, so if the object is changed on the main server (for example, the IP of a camera), these changes will be applied to the registration of this camera on the Failover Server.
•Activate: Enables or Disables this Failover Monitor.
Now we must create the actions that we want to execute when the Failover situation is detected by the system.
To do this, click Failover Actions:
The main action in the Failover situation is to activate the objects that we want to start working on Server B. Let's give an example with the operation of a camera, but keep in mind that the same theory can be applied to objects such as I/O Devices, analytics, LPR, among others.
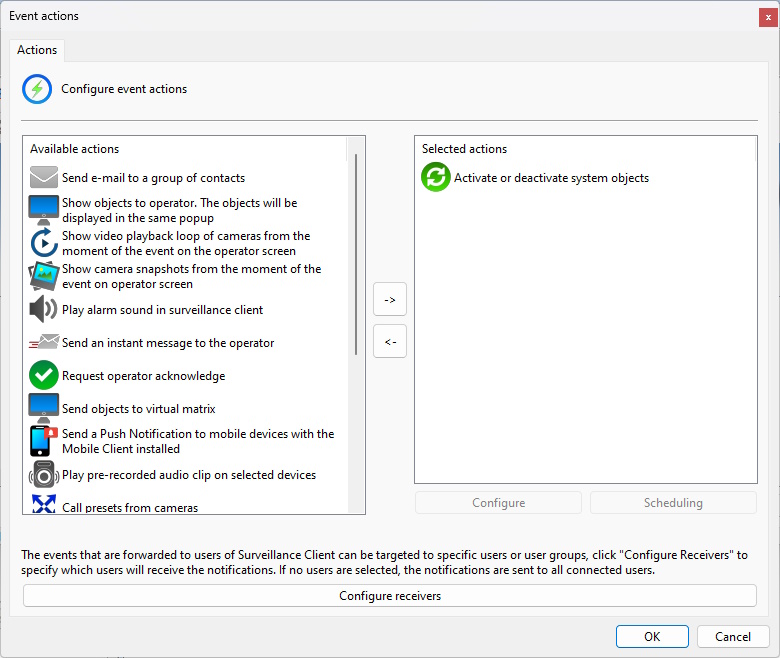
Drag the Activate or Deactivate System Objects option to the right list to activate this event action and double-click to configure.
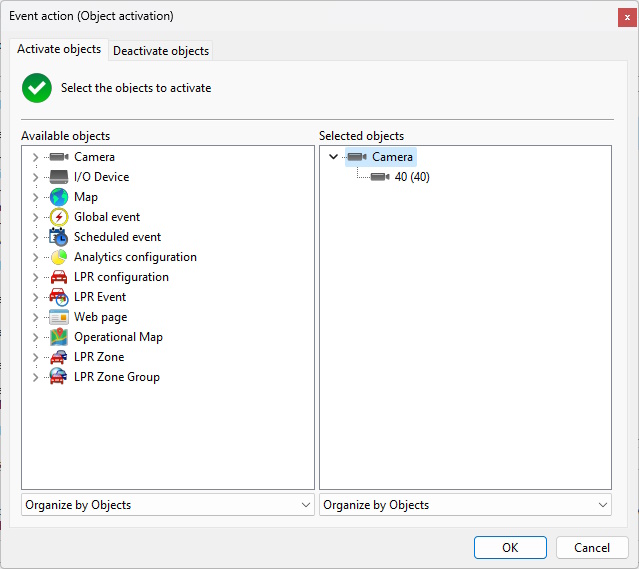
Now configure the camera you want to activate when Server A stops working by dragging to the right as shown in the image above.
According to the scenario proposed here, as soon as Server A stops working, Server B will activate camera "40" and start recording.
Now we will return to the Failover registration screen:
To complete the process, we must configure an action for when Server A comes back up and running. Click Failback Actions to continue.
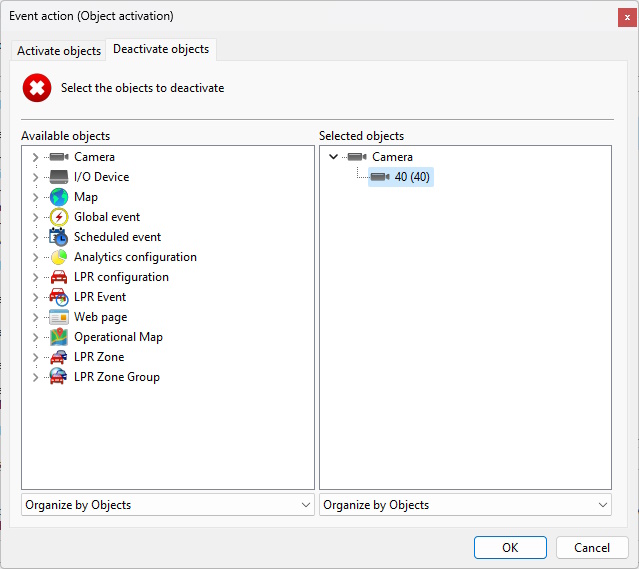
In our example, we will now disable the camera on the Failover server as Server A is already working again. Once Failback is detected, camera "40" will be disabled on Server B as shown in the image below:
With the server configuration now complete, you will need to configure the Survellance Clients. All servers (Main and Failover) must be registered in the Survellance Client and it must be connected to all servers so that the automatic exchange between the main and failover server objects can occur. In the Survellance Client you also need to activate the Failover Operation option in the server registration. For more information, see the Survellance Client manual.