If the Basic engine is chosen on the analytics registration screen, the following screen will appear:
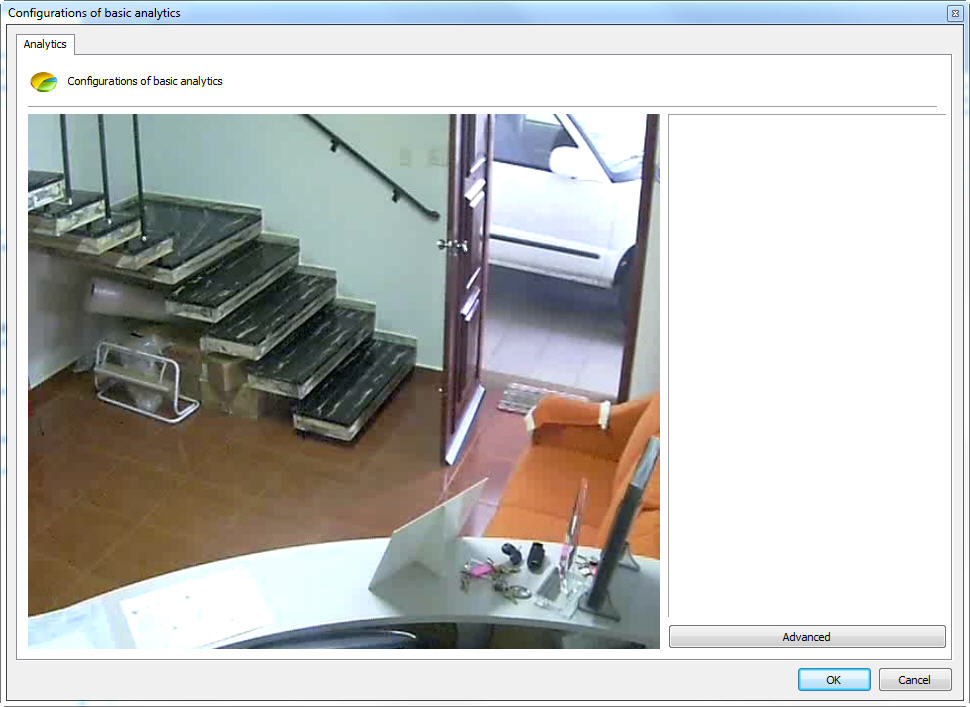
The image that will appear will be related to the camera and the media profile selected on the analytics registration screen.
This screen has the following functionalities when the right button is activated:
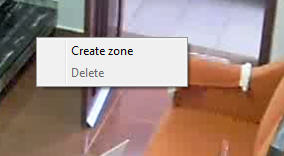
•Create zone: Creates a zone where the analysis module will be defined.
•Delete: Deletes a selected zone.
Create a zone and click on it as shown in the figure below:

You will notice that a zone options menu will open in the right column of the screen. The following options will be available:
•Name: Name for the created zone. It is important that this name is well thought out as it will be possible to generate reports from this name.
•Color: Changes the color of the selected zone.
•Foreign Objects: Foreign objects analysis module. This module will be discussed in the chapter How to configure the Foreign Objects module
•Missing Objects: Missing objects analysis module. This module will be discussed in the chapter How to configure the Removed Objects module
It is possible to move the zone points by clicking on the circles as in the figure below:

And add points by double clicking near the edge of the zone as below:

The maximum possible points per zone is 20.