Professional analytics requires some calibration settings for it to work properly.
The first configuration is the calibration of distances, it is necessary to get alarms like speed and to classify objects like cars, people, groups of people and so on.
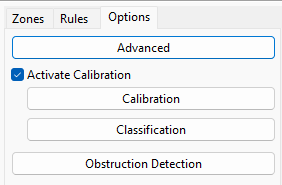
To start, on the analytics configuration screen, click on Calibration:
The following screen will be displayed:
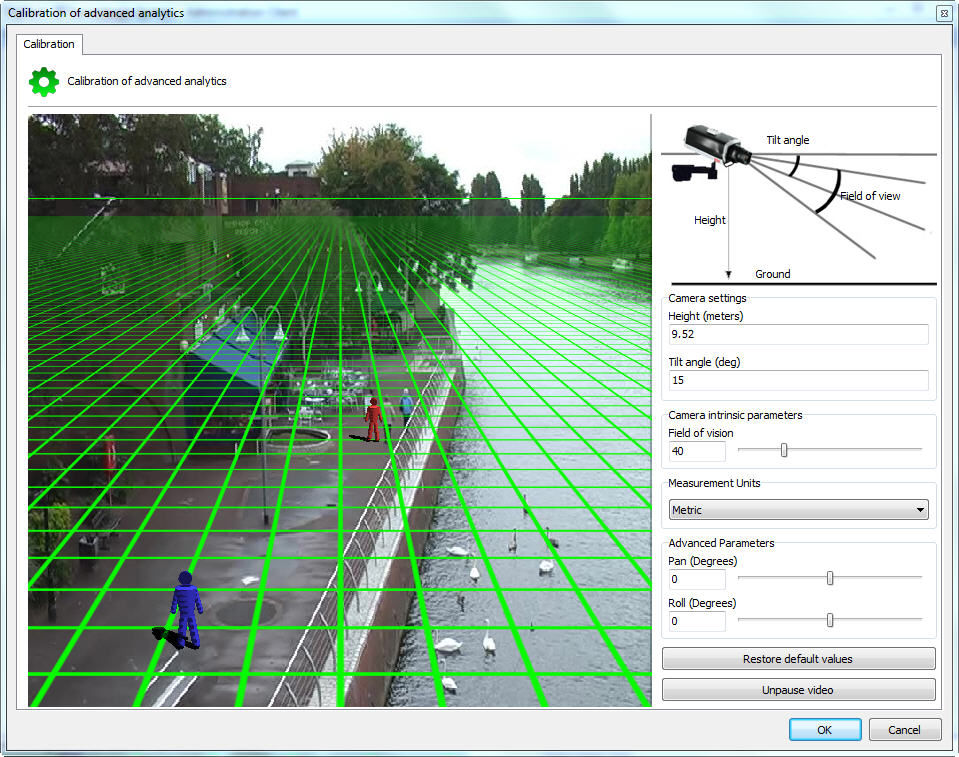
On this screen, the configured camera image will appear along with a 3D Grid.
If no command is activated, some messages will appear on the screen with information on how to operate the grid:
•Measure or estimate the height of the camera above the ground.
•Use the middle mouse button to adjust the camera height
•Click and drag the grid to change the vertical angle of the camera
•Click and drag the 3D people to compare the size with the people in the image.
•Each grid square equals 2 square meters.
To facilitate configuration, first move the grid trying to position the Horizon line compatible with the image as shown in the figure below:
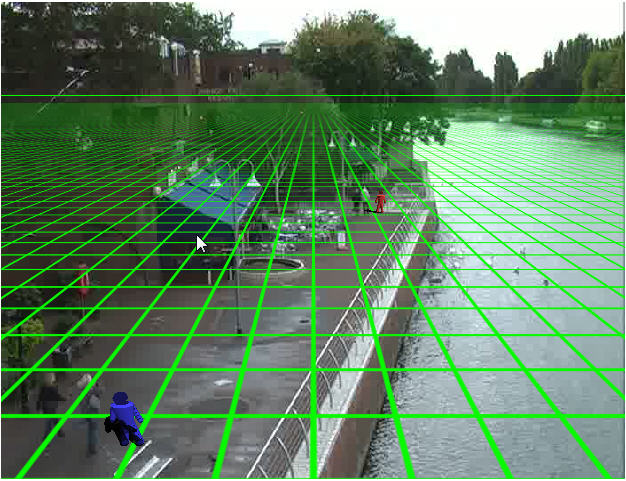
In the configuration above you can see the horizon line, the grid compatible with the image and the 3D puppets with the approximate size of the people in the image.
Ready! The grid is already configured.
In case you have precise values of the positioning of the camera in the place, the menu on the right side also helps in configuring the grid:

The menu has the following features:
•Height: Height in meters that the camera is in relation to the ground.
•Tilt Anle: Vertical angle of the camera.
•Field of view: Camera's field of view.
These values, when changed, automatically adjust the positioning of the Grid.
•Units of Measure: You can change the measurement type from Metric to Imperial in the Unit of Measure field.
•Advanced Parameters: Use the parameters below for a finer adjustment of the grid as in the figure below.

oPan (Degrees): Rotates the grid on the Y axis of the Cartesian plane.
oRoll (Degrees): Rotates the grid on the Z axis of the Cartesian plane.
•Restore Default Values: Restores the initial grid positioning values.
•Pause video: Allows you to pause the camera video for grid adjustment
With the grid configured correctly, we will be able to classify the objects being detected. See the next chapter to learn how to classify objects.