If the Professional engine is selected, the following screen will appear:

The image that will appear will be related to the camera and the media profile selected on the analytics registration screen. The camera must be registered and activated on the server for the image to appear.
This screen has the following functionalities when the direct button is activated:

•Create Zone: Creates a zone where the analysis module (Rule) will be defined.
•Create Line: Creates a line where the analysis module (Rule) will be defined.
•Create Counter: Creates a counter that will be associated with an analysis module (rule).
•Delete: Deletes a selected zone/line/counter.
Create a zone/line and click on it as shown in the figure below:
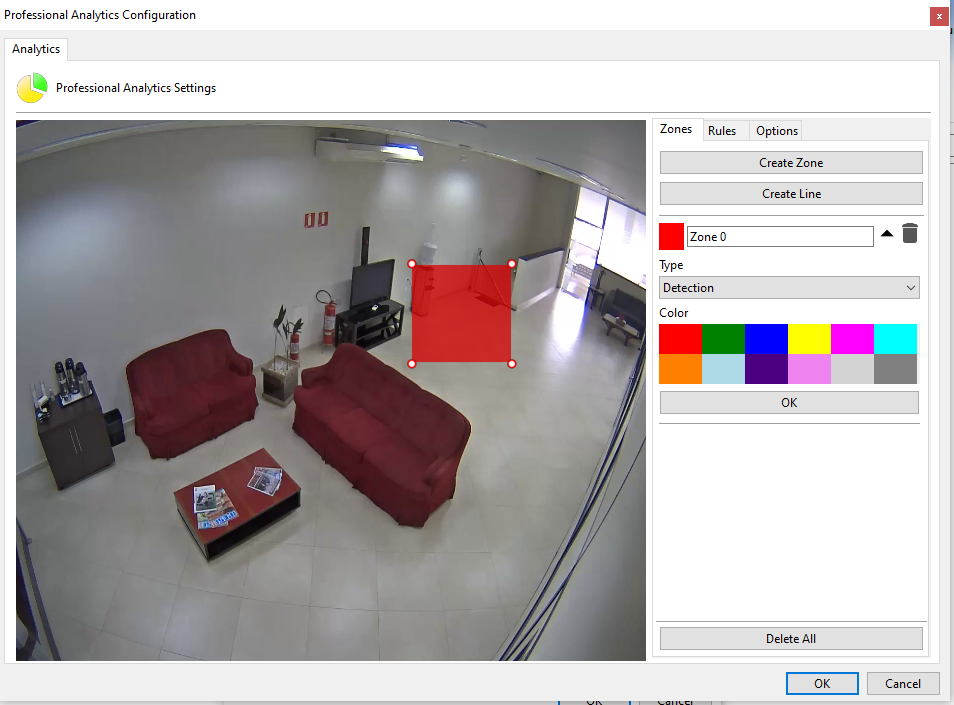
When selecting the object, some options will appear on the right side:
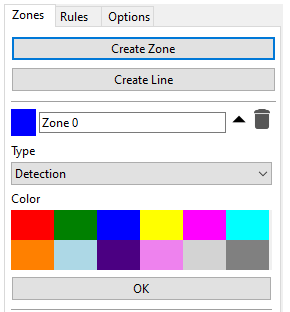
•Name: Name for the created zone. It is important that this name is well thought out as it will be possible to generate reports from this name.
•Color: Changes the color of the selected zone/line.
•Type: There are two zone types: Detection and Non-detection.
oThe detection zone is the standard zone where analytics modules are applied.
oThe non-detection zone is used to remove unwanted image areas such as trees, rivers, etc. from the analysis.
It is possible to move the zone points by clicking on the circles as in the figure below:

And add points by double clicking near the edge of the zone as below:

The maximum possible points per zone is 20.
These same rules apply to lines.