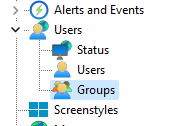
To access group management, locate the Groups item within the Users item in the Server Settings Menu, as illustrated in the figure below:
The groups option was created to facilitate the management of users in the system.
Once this is done, the Group management screen will open on the right side as shown in the figure below:
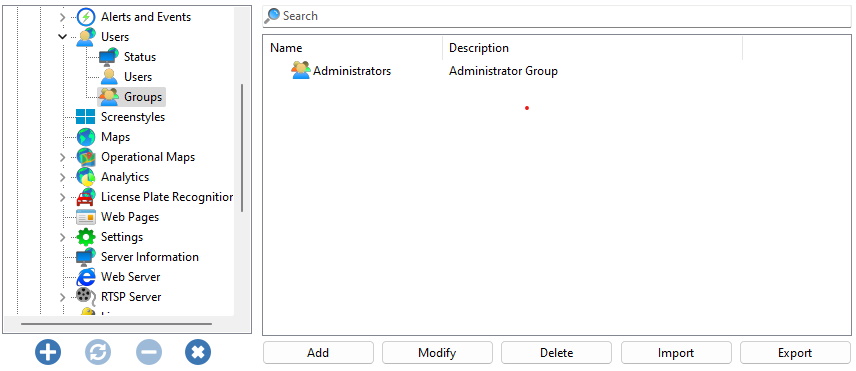
By clicking on the Add button, the group editing screen will be opened. Let's start by inserting a group, then the rights and finally the resources .
To change an already registered group, select it and click on Change, and change the data as explained in the following pages.
To remove a group, select the desired group and click on the Remove button.
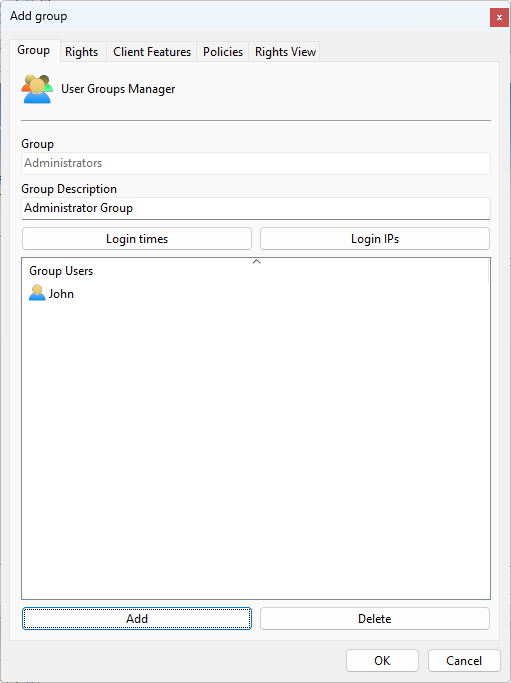
The first step when adding a group is to enter its main data, they are:
•Group: User group name. Once saved, it cannot be changed.
•Group Description: A brief description of the group, with the purpose of helping to identify it in the system.
•Login Times: Allows you to schedule when a user in the group can access the system. When you click this button, a scheduling screen will be displayed. All scheduling screens in the system have the same scheduling system. To learn how to work with scheduling, check the How to configure recording schedule topic. If a user is in multiple groups, he will have access to the system if any group provides login permission, that is, the schedule of all groups (as well as the user's individual schedule) will be added together.
•Login IPs: To learn about this feature see Login IPs. If a user is in multiple groups, he will have access to the system if any group provides login permission by IP, that is, the IP restriction of all groups (as well as the individual user restriction) will be added together.
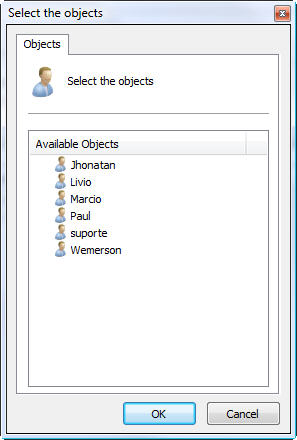
•Group Users: List of users belonging to this group. To add a user to the group, simply click on the Add button and a window will open to choose the user as shown in the figure. To delete a user from the group, simply select it from the list and click the Delete button.