After clicking Add, the event registration screen will open as shown in the figure below:
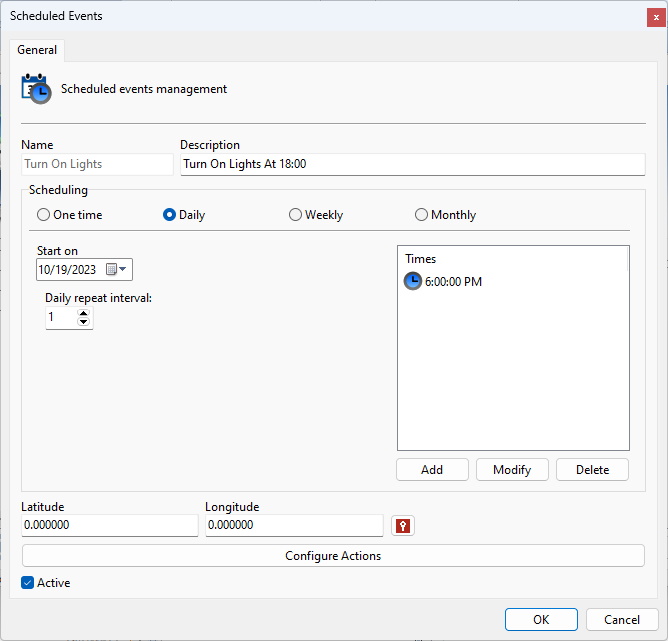
This screen provides the following configurations:
•Name: Enter the desired name for the event. This name will be the key for recognition in the system.
•Description: Desired description for the event to be registered.
•Scheduling: Type of scheduling to be done. The event can be activated only once, daily, weekly and monthly. Scheduling types will be explained later.
•Times: Screen where one or more times will be added for the event to be activated.
•Latitude and Longitude: Coordinates used to identify the location of the event on geo-referenced maps.
•Configure Actions: Click this button to configure the actions that the system will take when this event happens. To learn how to configure actions see How to configure event actions
•Active: Activates or deactivates the event.