The system allows the creation of custom operational map objects. These are objects that will be displayed on the desired operational maps and can be associated with an object that will be displayed if the operator clicks on the custom object icon. The position of custom objects can be updated via API for integration with third-party systems. See the API manual to learn how to dynamically update the position of custom objects.
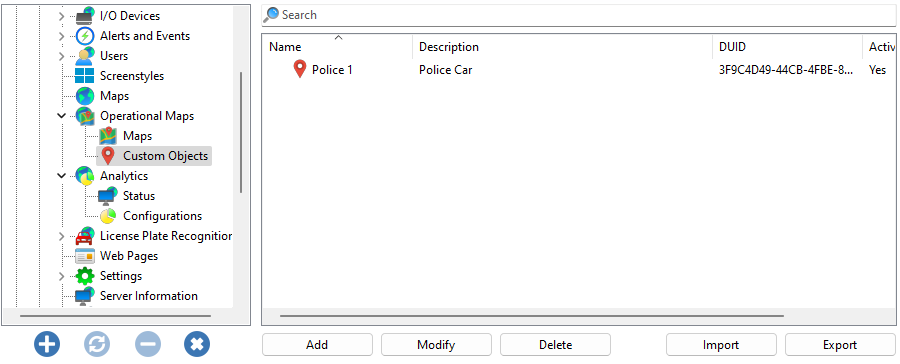
To add Custom Objects to Operational Maps, in your Administration Client, search for the Operational Maps item and click on Custom Objects:
![]()
The Custom Object Registration screen will be displayed:
Click Add to add a new Custom Object:
To modify an already registered object, select it and click Modify, and change the data as explained on the following pages.
To remove an object, select the desired object and click the Remove button.
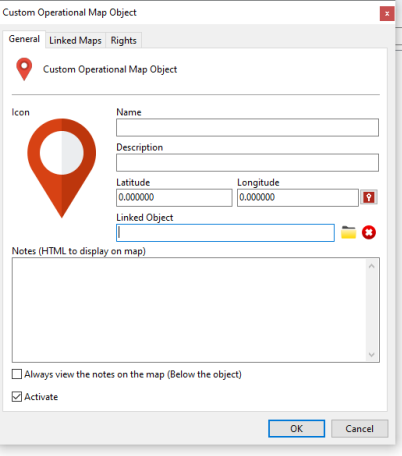
•Name: Object name.
•Description: Description of the object for easy identification in the system.
•Latitude and Longitude: Geo-referenced coordinates of the object.
•Linked Object: Object to be associated with this icon on the map.
oSelect Button: Selects the associated object. A screen will be displayed for selecting an object in the system.
oClear Button: Removes association with object.
•Notes (HTML to be displayed on the map): Observations and notes in HTML format that can be displayed on the map
•Always view the notes on the map (Below the object): If activated, this option will make the notes always visible, regardless of whether the operator has the mouse under the object
•Activate: Activate or deactivate the object
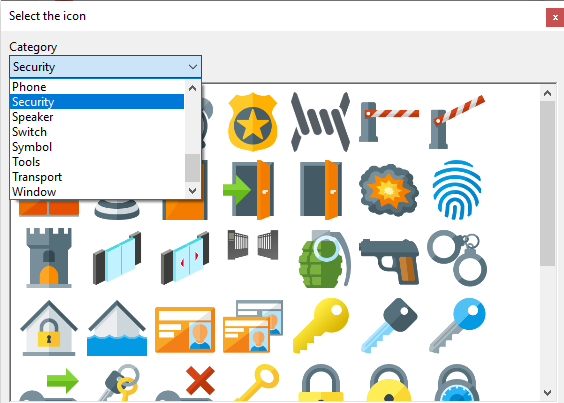
To select the icon for this object, simply click on the icon image (by default the red pointer) and select the desired icon: