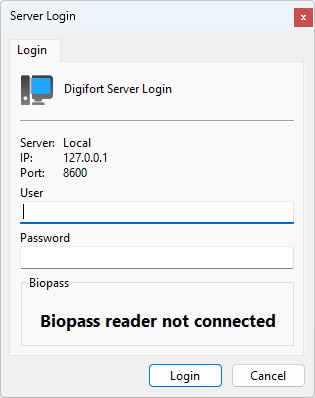
If your reader is not recognized, or is not plugged in, the message Biopass reader is not connected appears as shown in the image below:
With the Reader already plugged in and recognized by the operating system, you must now open the Administration Client and login to your server.
You will notice that the Login screen now has a differential, as shown in the following image:
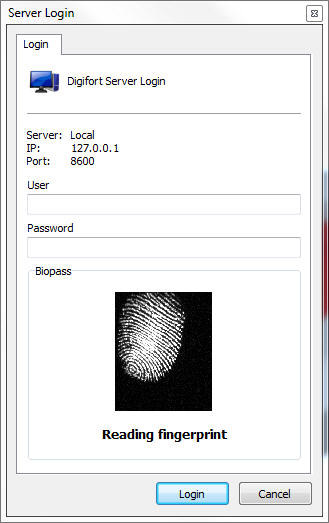
An area for viewing the fingerprint appears on the screen, but there is still no fingerprint registered, so login must be performed using a username and password.
Now to configure the fingerprints we must go to the Users Registration.
Once this is done, we will create a user to configure the Biometric Reader. (See the chapter User Management to learn about system users):

Enter a username, password, and description for the New User. In the “Authentication Method” area we have four options:
•User and password: Default system authentication
•Biopass: Only a fingerprint is required.
•User and password or Biopass (User and password + Biopass): Login can be performed with user and password or Biopass. (Not recommended unless using the web server is required as it does not have BioPass functionality).
•User and password + Biopass (User and password + Biopass): Requires username and password + Biopass to login.
In this area you will select the way the user will be able to login to the system, in this case the option
•User and Password + Biopass.
It should be taken into account that, for greater security, the User and Password + Biopass option is the most recommended, as this will force the user to use his username and password and still use biometric authentication.
Once this part is configured, now we must open the “BioPass” tab, as in the following figure:
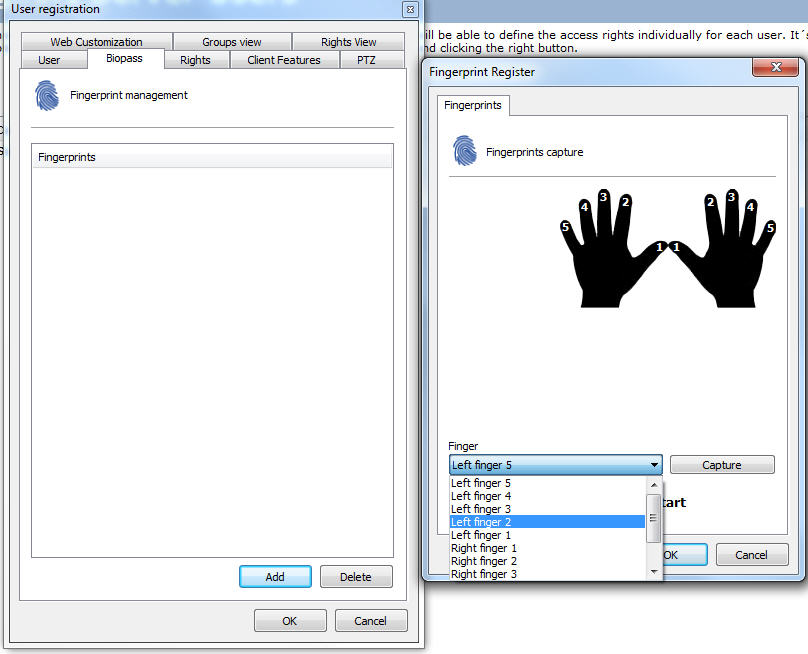
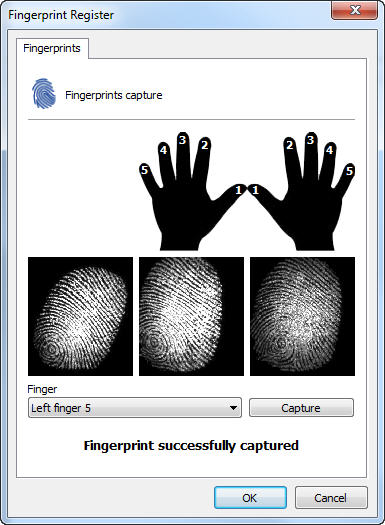
Click on Add, after that the screen on the right will be shown to you, where you will select the finger that you want to capture the fingerprint (To facilitate the choice of the finger to be captured, you can also click on the the numbers in the drawing of the hands). Chosen the finger now click on Capture:
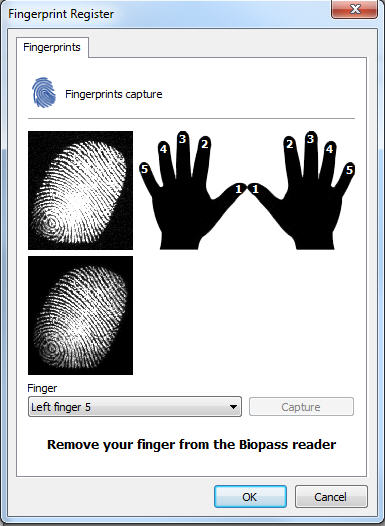
The screen has undergone a small change, where instructions for configuring the Fingerprints will appear.
The software will ask you to take three fingerprint captures from the same finger. The finger must be placed and removed from the Biopass when the message Remove your finger from the Biopass reader appears.
After completing the capture, the Fingerprint successfuly captured message will be shown:
After that, click on “OK” to save the configuration applied to this finger and the screen of captured fingerprints will be shown as in the image below:
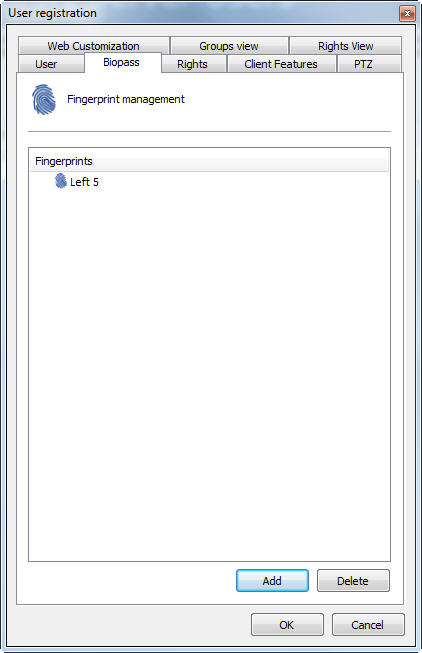
It is recommended that more than one finger be captured, just to be on the safe side.
From that moment on, login can be done via BioPass both in the Administration Client and in the Surveillance Client.