The system allows recordings from a camera to be sent to another disk or computer on the network in order to make backups on tapes or other backup devices, as well as in the cloud.
In this configuration, you can specify the number of days that recordings should be kept on the disk or network computer.
To access this feature, click on Archiving, as shown in the figure below:
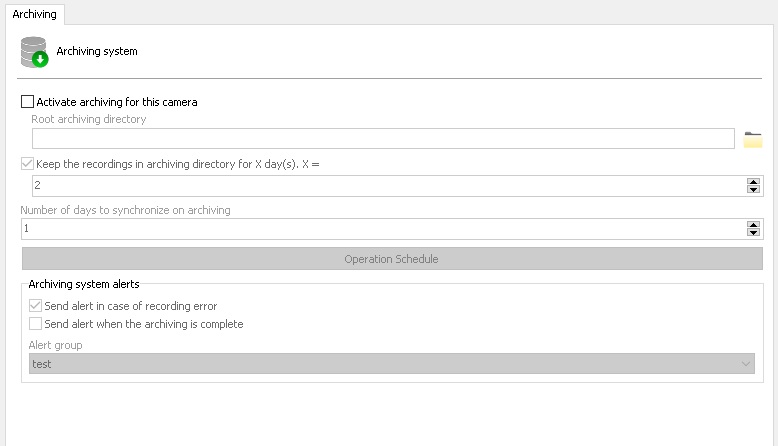
•Enable archiving for this camera: Enable media archiving for this camera.
•Archive Root Directory: Enter the directory where archiving will be performed. This directory must be the same for all cameras as the system will create subdirectories for each archived day and for each camera automatically.
•Keep recordings in the archive directory for X days: Enter the number of days that camera images should be kept within the archiving directory. Exactly the last X specified days will be kept. Previous days will be deleted. NOTE: The system does not manage free space in archive directories, so make sure you have enough free space to store all the backup days defined here, otherwise archiving new images will fail due to lack of free space .
•Number of days to synchronize on archiving: Specify the number of previous recording days that the archive will synchronize during processing.
•Operation Schedule: Allows you to configure an operation schedule to determine when archiving can operate. The archiving system still remains an ongoing process, but will only operate during the scheduling period.
•Send alert in case of recording failure: If any error occurs during archiving an email notification can be sent. To do so, check this option and select the desired alert group.
•Send alert when the archiving is complete: Sends the selected alert group a notification email when archiving is successfully completed.