After clicking on the Add button, as explained in the previous topic, the screen for adding contacts will be displayed, as illustrated in the figure below:
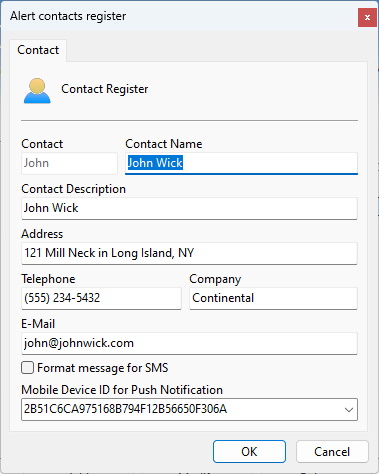
•Contact: Internal name of the contact. This name must be unique and cannot be changed after saving, as this information is for internal use by the system.
•Contact Name: Contact's full name.
•Contact Description: A brief description of the contact aiming at easy identification. This field can contain the contact's role in the company, for example.
•Address: Address of the contact.
•Phone: Contact phone.
•Company: Contact company.
•Email: Contact email. It is to this email that the system will send the notifications configured by the administrator.
•Format message for SMS: Sends the notification to a cell phone in SMS format instead of sending it by email. In this case, the cell phone e-mail must be specified in the “E-mail” field.
•Mobile device ID for Push Notification: This ID will be used in the configuration of events with the action for sending push notification, the ID can be found directly in the Mobile Client application.
|
|---|
Sending SMS messages is a service external to the system and is the responsibility of the cell phone operator that will receive the message. Check the availability of this service with your carrier. |