To create a Bookmark during the live view, use the bookmarks control on the toolbar:

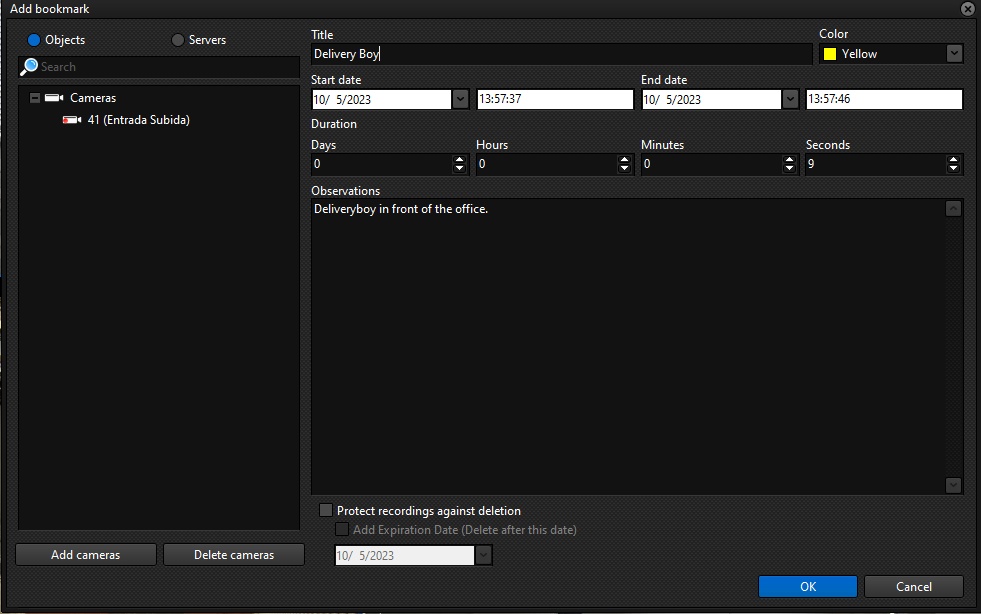
The first button with the "+" character allows you to create a Bookmark from a date specified by the operator. When clicked, the following screen is available:

In the left part of the screen we can choose the cameras we want to create the Bookmark for. By default, the system will list the cameras that are in the view.
To add another camera, simply click on Add cameras and choose the camera you want.
To delete a camera, simply select one or more and click Delete Cameras.
On the right-hand side of the screen we'll put the information about the Bookmark:
•Title: Enter the Titleof the bookmark
•Color: Select the color of the Bookmark
•Start Date: Start date and time of the event. The Bookmark will initially be bookmarked at this time
•End Date: The Bookmark can have a start and an end date. Enter the date and time of the event in this field. Note that when you change the end date, the Duration of the event below will automatically change. NOTE: If the end date is the same as the start date, only a ponctual Bookmark will be created, i.e. only with the start date.
•Duration: Setting the duration of the Bookmark. This setting will automatically change the event's end date.
•Remarks: Enter remarks related to the event to be bookmarked for later search.
•Protect recordings from deletion: Select this option to protect recordings from the period of this bookmark. To learn more about this feature, see the topic on Protecting Recordings.
oAdd expiration date: Select this option so that the protection of these recordings expires on a set day.
▪Date: Select the date on which the protection will expire.
After filling in the information, click OK to create the Bookmark. The image below shows an example of a bookmark being created and displayed during video playback:


Notice that this bookmark has two marking points that are signaling a bookmark with an interval. Ponctual bookmarks, where the end date is the same as the start date, will only be displayed with the start mark:
![]()
Another way to create Bookmark is to click on the Start Bookmark button, represented by the red circle. By clicking the button, the system will start counting the duration of the Bookmark until the End Bookmark button, represented by the blue square, is pressed:
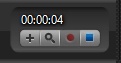
When it is finished, the Bookmark configuration screen will open with the start and end date filled in according to the start and end time of this process: